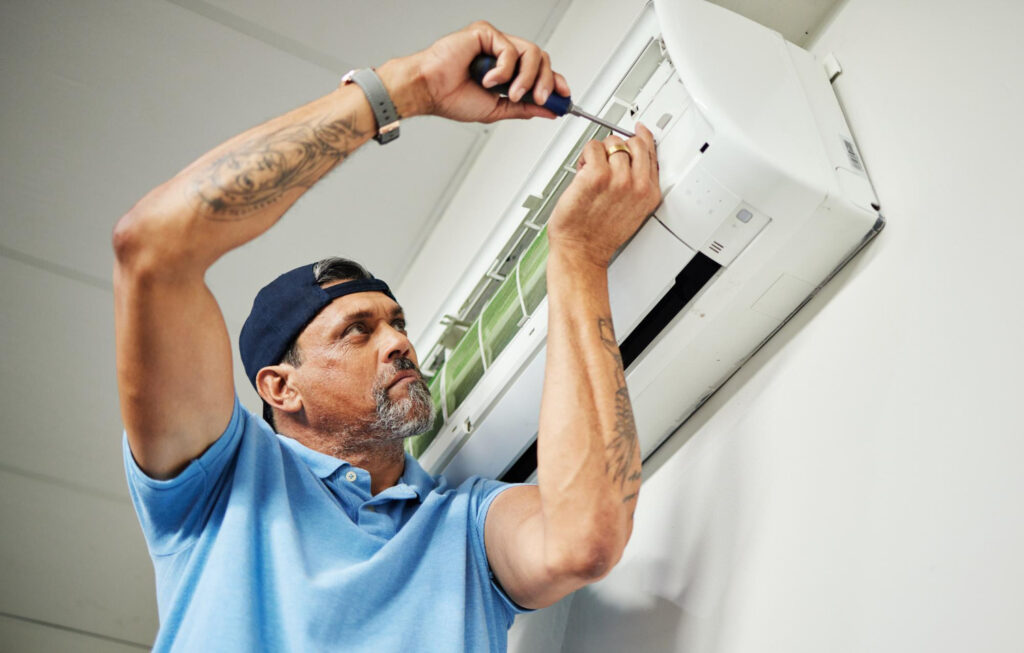
Installing a new air conditioning system is a significant investment that can greatly impact the comfort and energy efficiency of your residential or commercial space. Proper installation ensures that your AC unit operates effectively and efficiently. By following a comprehensive, step-by-step process, you can avoid common pitfalls and ensure optimal performance from your new system.
Explore the essential steps required for professional AC installation. Our professionals have extensive experience installing air conditioning systems and understand the importance of each step in the process. From preparing your space and gathering the necessary tools to navigating the complexities of the installation itself and addressing potential challenges, our detailed instructions will help you achieve a flawless installation. Let’s delve into the process and confidently get your new AC system up and running.
Preparing for AC Installation: What You Need to Know
Proper preparation is key to a successful AC installation. Preparing adequately beforehand ensures a smoother, more efficient installation process and helps avoid common pitfalls. Failing to prepare can result in unnecessary delays, additional costs, and potential damage to the new unit. Planning ahead keeps the process on track and ensures your new system performs optimally once installed.
To start, gather all the necessary tools and materials needed for the installation. These typically include a drill, level, screwdrivers, pipe cutter, vacuum pump, and AC brackets. Ensuring all materials are in place can prevent interruptions. You also need specific items like refrigerant lines, electrical wiring, and mounting hardware. Having these on hand streamlines the process significantly.
Preparation steps also involve precautionary measures to protect your property and ensure safety. This means turning off the power supply to avoid electrical hazards, preparing the installation site by clearing clutter, and ensuring proper ventilation in the working area. Taking these steps minimizes risks and creates an efficient workspace for our technicians.
Step-by-Step Guide to the Installation Process
Installing an AC unit involves several detailed steps, each crucial to the system’s overall performance. The process begins with positioning and securing the indoor unit. It’s vital to select a location free of obstructions and ensure the unit is level before mounting it securely onto the wall using brackets and screws.
The outdoor unit’s setup is equally important. This unit must be placed on a solid, level surface with adequate space around it to ensure proper airflow. Positioning it away from direct sunlight and other heat sources optimizes its performance. Once the location is set, use mounting brackets and bolts to secure the unit firmly.
Next comes connecting the refrigerant lines, a step requiring precision to ensure the system’s efficiency. Carefully connect the lines between the indoor and outdoor units, ensuring there are no bends or kinks that could impede refrigerant flow. Secure connections minimize the risk of leaks and ensure efficient cooling.
The electrical wiring and connections follow. This step involves linking the indoor and outdoor units to the power source. Securely attach the wires to their respective terminals, ensuring all connections are tight to prevent electrical hazards. Adequate knowledge of wiring schematics is necessary to ensure safety and compliance with local electrical codes.
Finally, perform a series of checks and tests to ensure the system operates correctly. Begin by vacuuming the refrigerant lines to remove any air or moisture. Then, release the refrigerant into the system, followed by testing the unit’s overall performance, including temperature and pressure readings. Conducting these final checks ensures your AC system runs smoothly and efficiently, providing reliable comfort for your space.
Common Challenges and How to Address Them
During AC installation, it’s not uncommon to encounter a few challenges. One frequent issue is the improper placement of the indoor unit. If the unit isn’t leveled or situated correctly, it can lead to water leakage or inefficient cooling. To address this, always use a level to ensure the unit is straight and follow the manufacturer’s guidelines regarding appropriate locations.
Another common problem is refrigerant line issues. Kinks, bends, or improper connections can disrupt the cooling efficiency and may cause leaks. Our professionals recommend carefully routing the lines and double-checking all connections to prevent such problems.
Electrical wiring can also pose challenges. Incorrect wiring can lead to electrical hazards and malfunctioning of the unit. To avoid this, follow the wiring schematic provided by the AC manufacturer. If you’re unsure at any point, it’s best to rely on qualified technicians to handle the electrical connections.
Safety is paramount during the entire process. Always turn off the power supply before starting, use proper protective gear, and ensure the workspace is clear of hazards. These precautions help prevent injuries and ensure a smooth installation process.
Ensuring Optimal Performance Post-Installation
Maintaining optimal performance of your AC unit after installation is crucial for longevity and efficiency. Scheduling regular professional maintenance checks is essential. Our technicians can identify and address potential issues before they escalate, ensuring the system remains in peak condition.
There are also basic maintenance tasks you can perform to extend the lifespan of your system. Clean or replace air filters regularly to maintain good airflow and indoor air quality. Keep the outdoor unit free of debris and ensure the surrounding area is clear to promote efficient operation.
Watch for signs indicating the need for professional intervention. Unusual noises, a spike in energy bills, or inconsistent cooling are all red flags. Addressing these early with professional help can prevent more significant issues down the line.
Conclusion
Proper AC installation begins with thorough preparation, involves precise steps, and continues with ongoing care to ensure long-term performance. Addressing common challenges with practical solutions can make the installation process smoother and more efficient. Post-installation, regular maintenance and professional check-ups are essential for keeping your system in top condition.
Trust our professionals to handle your needs for a reliable and efficient AC installation in Gilbert, AZ. Our expertise ensures your system is installed correctly and operates at peak performance. Contact us at Agape Air Heating & Cooling to schedule your AC installation service today!


